Another medium, another set of tools to get hold of and to learn, and another set of muscles to learn to use.
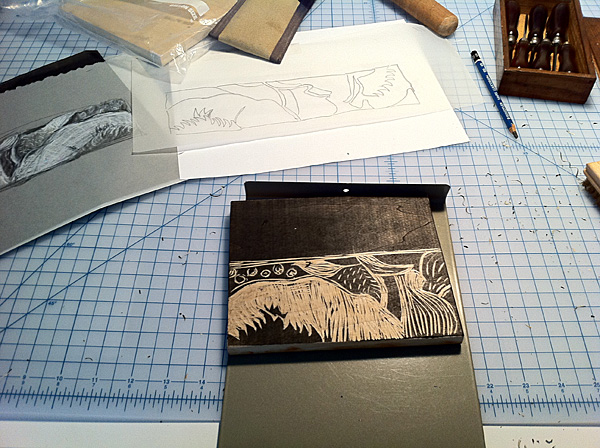
I had a few things from working with linoleum blocks a number of years ago. One handy thing is a metal stop (a bench hook) for the wood I’m working on. Keeps it in place as I push against it. I did modify it with a rubber mat under it and a sticky woven rubber mat on the surface to keep my block from sliding about.
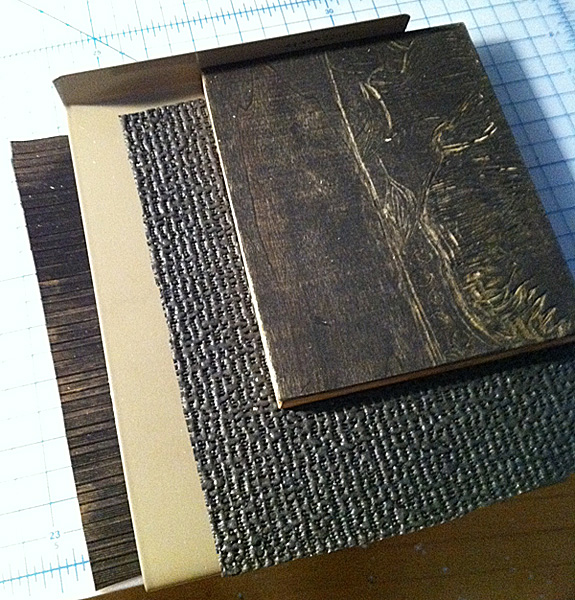
Bench Hook with both mats and block in place.
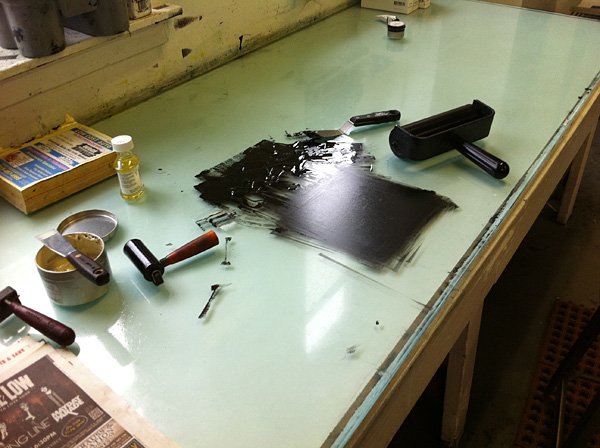
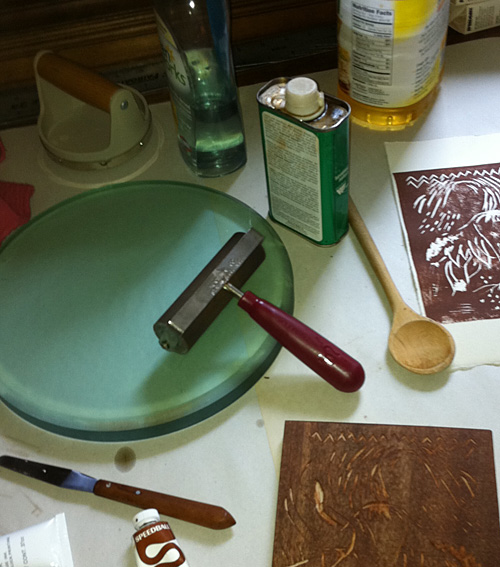
I also have a few brayers and a plastic baren (I covet a nice traditional Japanese Baren) and some inks—water and oil based. Bob had given me a nice chunk of glass about 10 inches in diameter and 1 inch high that I use for preparing ink. Don’t know where that came from, probably Edmound Scientific, years ago. I posted a picture of these in an earlier post.
With wood I need better knives and chisels that the speedball handle and cutters I have. Again, Bob’s workshop supplied several sets.
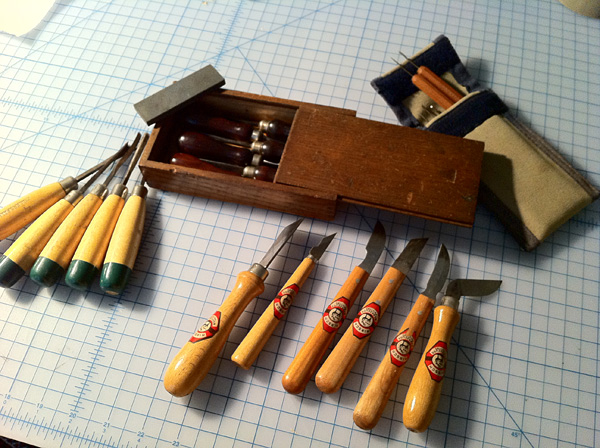
Wealth of knives and chisels.
One is a very sweet set in a wooden box with its own sharpening stone. He thinks it was his father’s. Another set was by Millers Falls, who no longer makes wood carving tools, and a third set by Hirsch which he claimed I gave him years ago but I don’t remember and a tiny set of Dockyard Micro Carving Tools that come in a little canvas carrier.
So, I seem to be set with sharp things for now anyway! Actually after a lot of experimenting, I’m mainly using a knife from his Dad’s set and a rounded chisel from Millers Falls for my current project.