This is the archive for the ‘stitching’ Category

Documentation

March 13th, 2023

This has been a very difficult time personally and I haven’t been in my studio for a while. In one month, I both broke my tibia and worst on March 4th lost my brother, Senter, to cancer.

I still haven’t been able to work but have started to document some smaller work I’ve done this past year in a small sketchbook. Mostly mark making, collage, and simple printing, resulting in mixed media books and other explorations. Some of this work was done in courses lead by Lorna Crane and by Sally Tyrie through Fiber Arts Take Two. Revisiting work is calming, a chance to slow down and think about my direction – how will this work influence future projects. I still have a ways to go with this documentation but here are some results to date. It’s a work in progress.
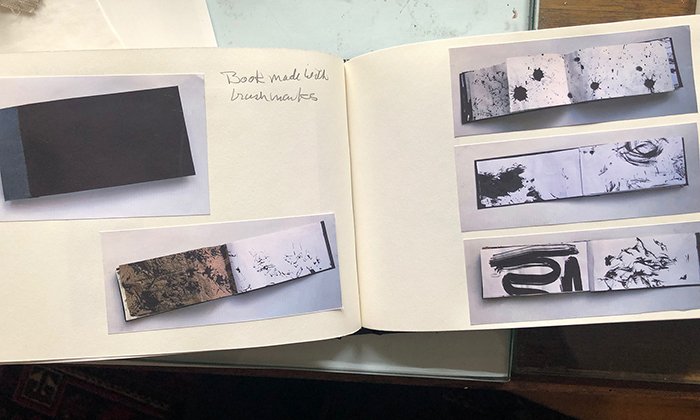
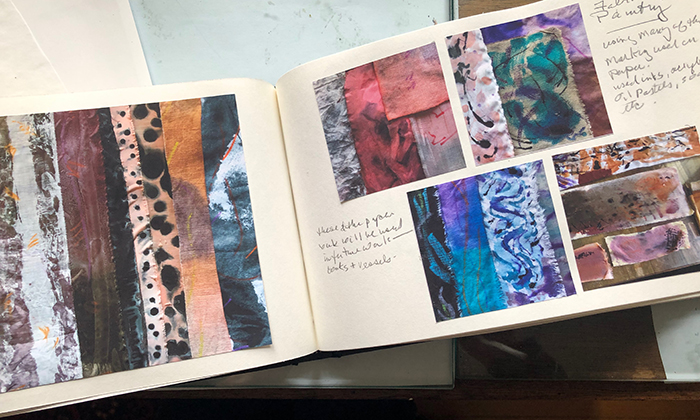
Image of Mark Making Book Image of Marks on Fabric
Mark Making Explorations: 1. Mark Making Book, 2. Painted Fabric Samples
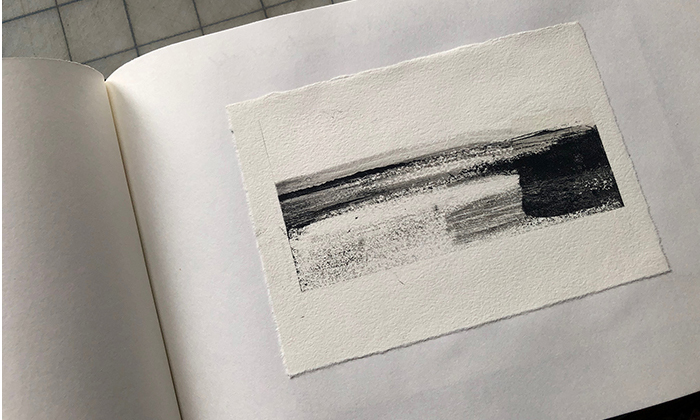
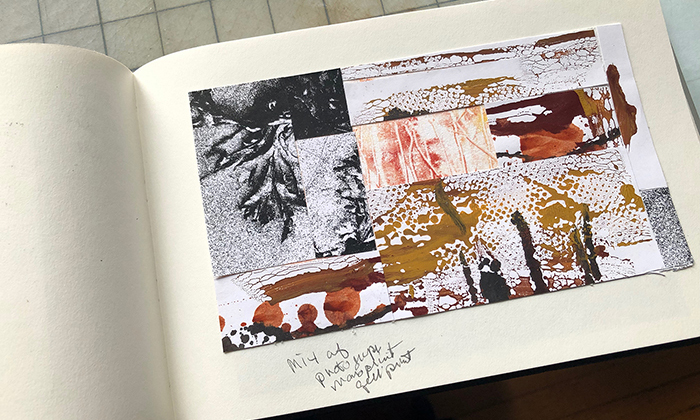
Image of Print-Incoming Tide Image of Marks and Prints
1. Print: Incoming Tide, 2. Small collage using various types of simple printing
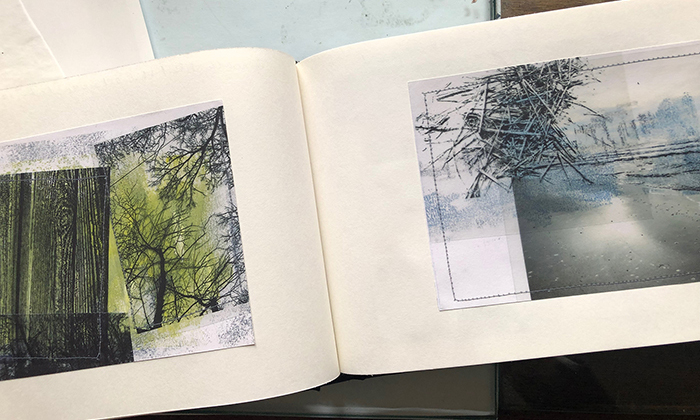
Image of Nature Studies Image of deconstructed explorations
1. Prints, acetate images and machine stitches, from a series of 14, 2. More explorations, didn’t go with these
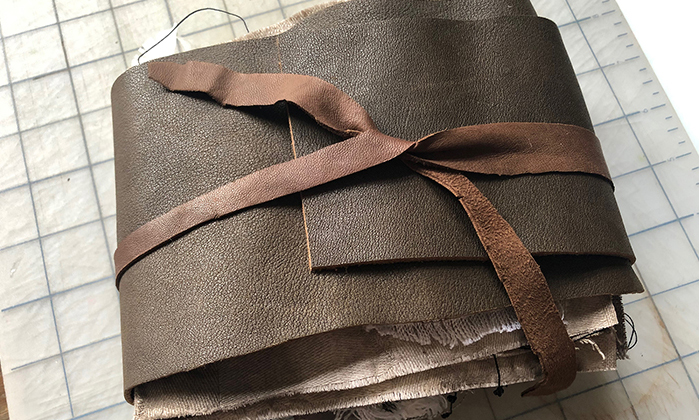
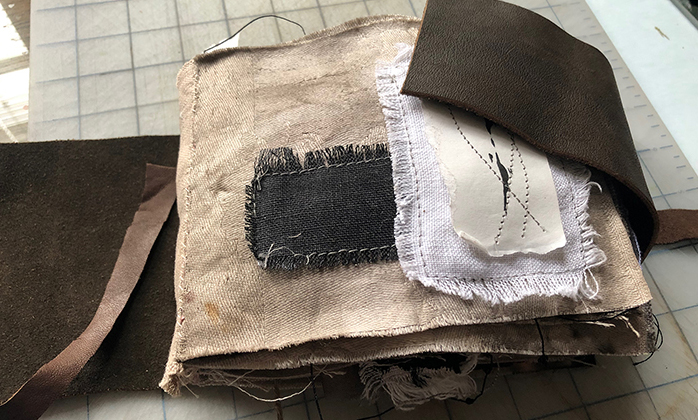
Image of Artist Book-Closed Image of Artist Book-Open
Three earlier fabric books, combined together with a leather cover. I’m still working on the cover.

Layers

December 6th, 2022

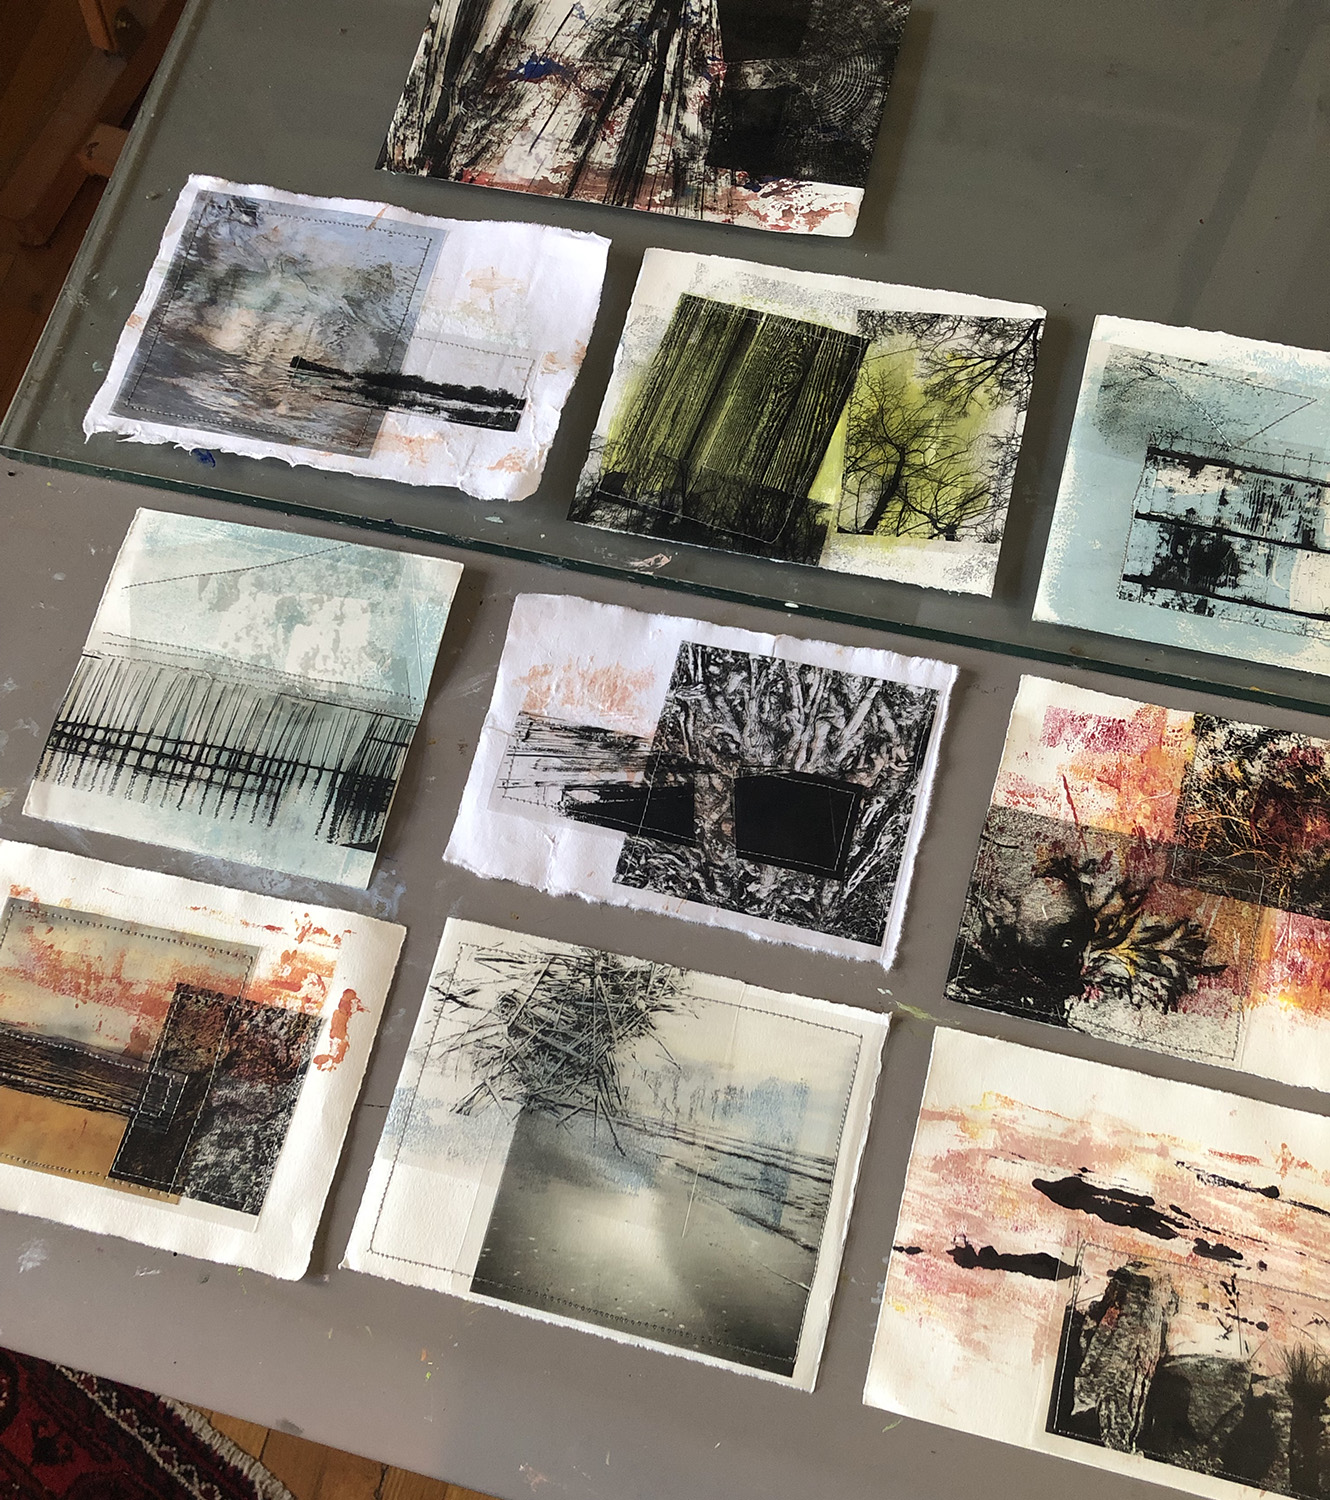
My second course was with Sally Tyrie. She focused on developing a body of work with a single theme. Here is one of my series. The base layer is mono printed on paper with acetate layers on top. I digitally printed the acetate with my photographs I had manipulated in Photoshop. The final layer is machine stitched to add texture and to hold it together. The concept for this group was taken from walks at both the Jersey Shore and the Wissahickon Creek. This was very fun!

Image of group of layered work
“Mixed Media Layering”

Three Books

December 3rd, 2022

Treated myself to two courses through “Fiber Arts | take two” recently. The first with Lorna Crane (I’ve shown work from her course in previous posts), and the second with Sally Tyrie. Both were very fun, intense and a lot of work. Lorna’s was about mark making on paper and fabric and developing work from it and Sally’s about research through photographing and drawing, abstracting imagery, exploring with a lot of hand printmaking. Both pushed one out of their comfort zone.

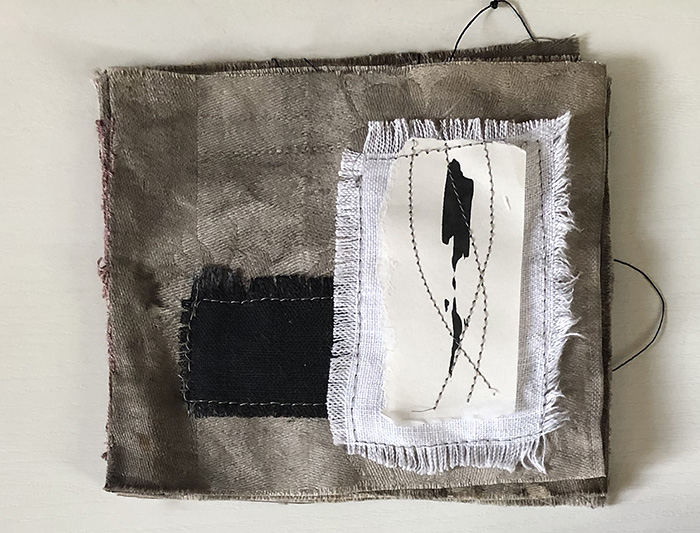
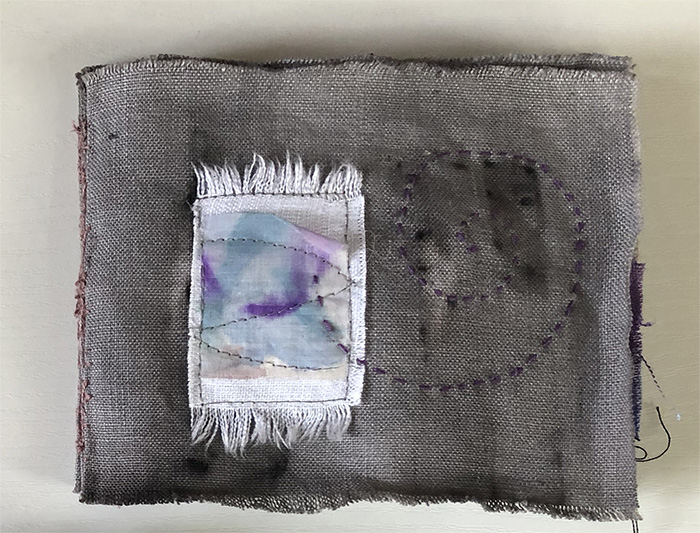
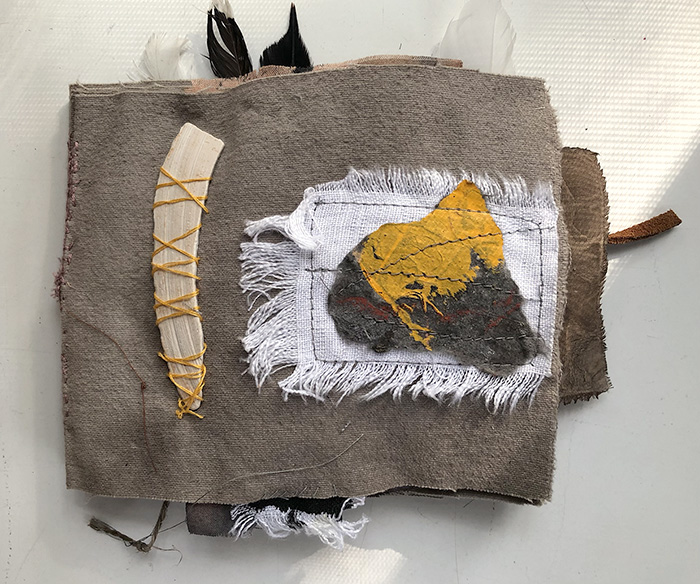
This post is about three books, which were developed from one of Lorna’s projects. They include hand dyed and hand painted fabric and paper, ink, leather, beads, machine and hand stitching, as well as objects such as the stone, bits of shell, and feathers. I wanted a bit of a story with mine. The first, titled “Beginning”, is mainly black, white and brown, the second titled “Water” added color and the third, “Earth” added three dimensional objects. I may combine them into one larger book.

Image of Book Beginning
“Beginning”

Image of Book Water
“Water”

Image of Book, Earth
“Earth”

Magic Brushes

August 2nd, 2022

Taking an intense mark making course with Lorna Crane called “Perfectly Imperfect”.
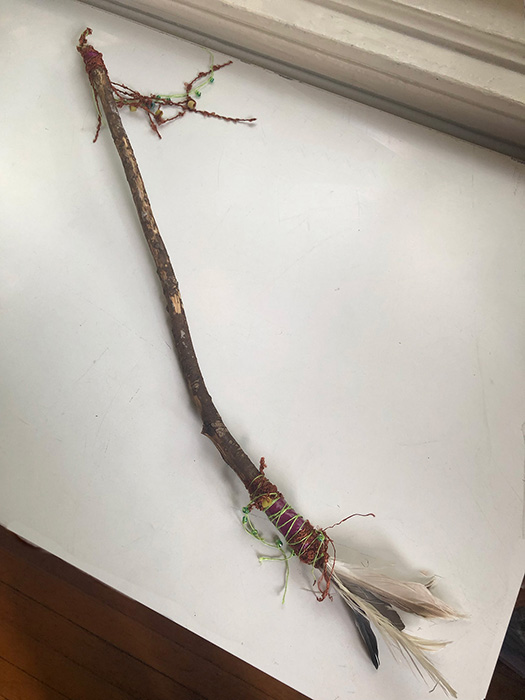
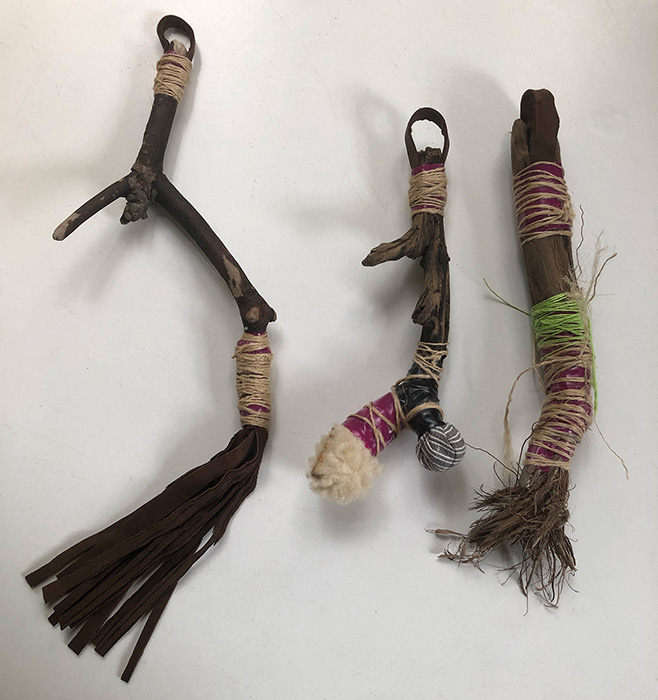
It began making wonderful crazy brushes. We were to embellish them and I based mine on an imagined Prehistoric Healer as they remind me of funky magic wands, BUT the main purpose is the mark making—getting you out of your normal way of working—the crazy bit is for fun. Mark making is in the next section of the course. After that we will use our marks in making collage, scrolls, books, and finally a vessel. We will be marking with ink, markers, acrylics, stitches, etc. etc. Painting on paper as well as fabric. It is a very busy, involved course and a lot of fun!

Images of brushes Three More Brushes
“Magic Brushes”

Not A Heist

April 27th, 2022

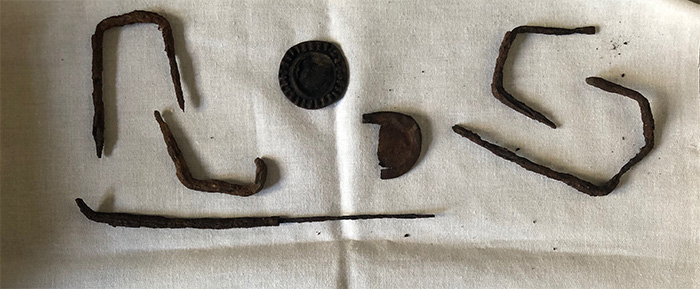
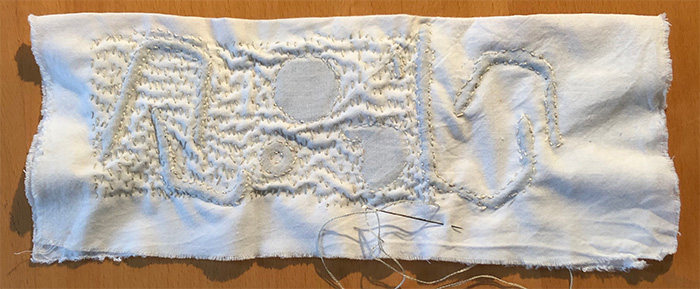
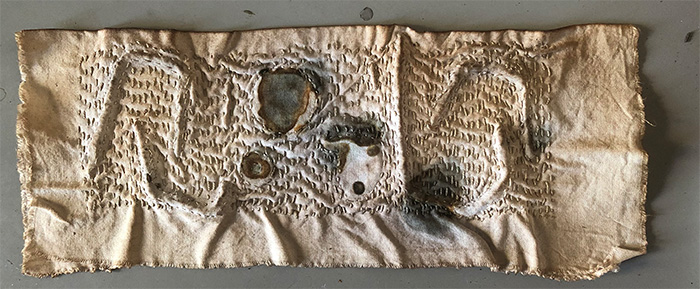
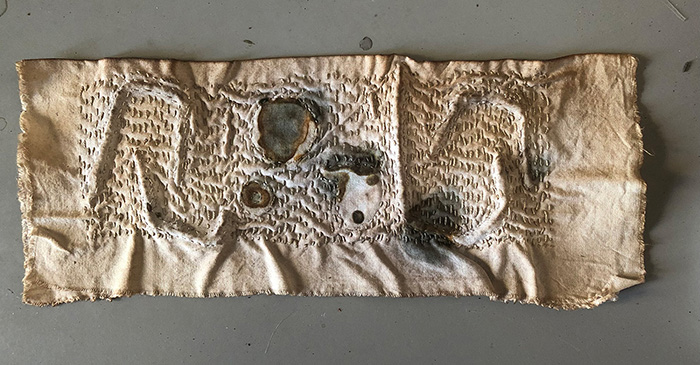
In a previous post (titled ‘Heist”) I described a project called “Bound in Place”. It was dyed and then buried as an experiment. When I went to dig it up I couldn’t find it! Hence the “Heist”. Below are images of laying out the rusty bits, attaching them, and adding seed stitching to create texture.

Laying out the rusty bits image of stitching
Testing Layout and Stitching

Image of Dyed Project Image of Burying Project
Dyed and Burying Project

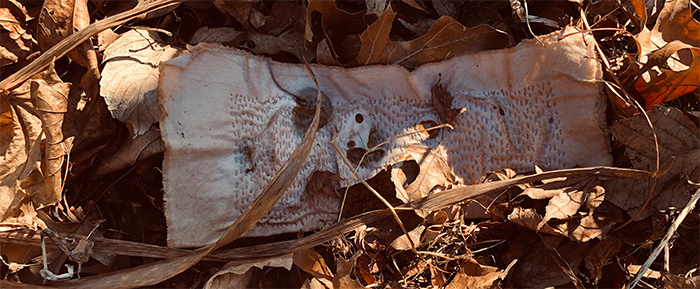
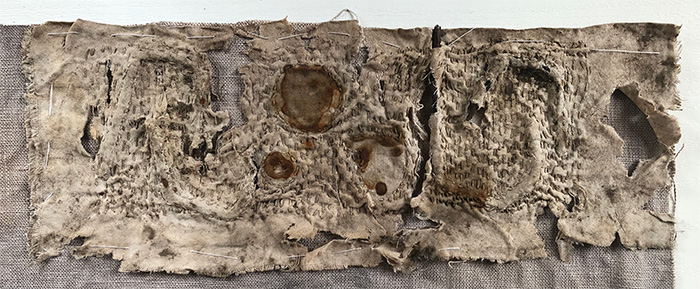
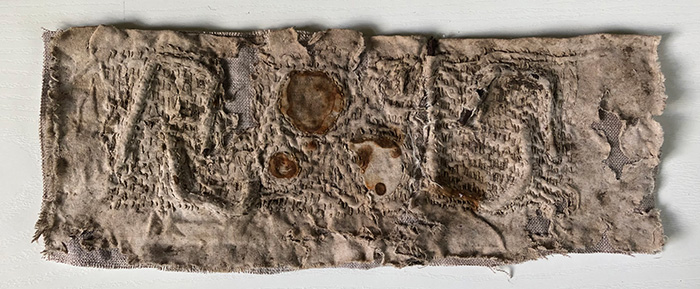
I waited until March the dig it up but couldn’t find it, then in late April, I was weeding in this area and there it was, so covered in mud I almost missed it. The poor thing was torn with very distressed fibers. After washing and drying it it was repaired, attached it to dyed linen and backed with a piece of thin felt for stability.

Image of Found Project Image of Repaired Project
Found and Repaired Project

I’m happy with the result showing the work involved plus a sense of decay—nothing’s permanent. Another time I will bury one in the warmer weather and will mark it better. I’m still interested the effect bugs and other ground dwelling critters may add to the project—and they most likely weren’t at work in the frozen ground!

Heist!

March 28th, 2022

This work is about 12 x 4 inches, made of cotton and rusty metal bits held between two pieces of cotton, then covered with stitches. It was then dyed with tea in the hope that the metal would mark the work with rusty stains. It’s title is “Bound in Place”

Fiber with stitches and rusty dye
Missing

I wasn’t happy with the amount of rust in this piece (the angular rusty bits didn’t react) so I decided to bury it outside and see what the elements did to it. The ground was pretty frozen and I could only go a bit below the dirt but I marked the spot and was very proud of my self that I waited a several months to dig it up. Only it wasn’t there!! I dug all around to no avail. All I can figure is that a squirrel or other critter attracted by the smell of tea made off with it…